Cannabis Seed Germination: An Introduction
What is the best way to germinate cannabis seeds? This is a regulaarly asked question from our customers who have just started growing cannabis. We are here to help you create a beautiful cannabis plant! There is no difference in germinating feminized, regular, or other plant seeds.
Hatching the seedlings is the first step of your cannabis cultivation. In about 12 to 16 weeks, you will monitor the plant’s growth, see it flourish to become an excellent marijuana plant, and reward your hard work with gorgeous, tasty, sticky buds! Before germinating weed seeds, you ought to ensure that your country legalizes pot cultivation; otherwise, the germinated seeds will put you on the wrong side of the law.

This page will introduce you to several ways to germinate seeds. We’ll talk about the growing medium, share some tips and tricks, and give you our recommendations on ensuring that your seeds will become healthy cannabis plants. We will introduce a total of 9 methods to you. The first five are the most common and relatively simple to do.

Germinating Marijuana Seeds: The Requirements
Just like a fire that needs three elements to combust, so does the seed to germinate. We need to create the right circumstances with the following elements:
- Water: The creator of all life! Be gentle; seeds should not be soaking wet.
- Air: A seed requires a trace amount of oxygen to breathe.
- Warmth: Needed to create the right humidity levels.
The 5 Most Common Cannabis Germination Methods
We have made a list of the most common methods we use, which we believe anyone can use:
- The paper towels method
- Direct germination
- Overnight soaking
- Using a germination station
- Seedling plugs
Method 1: The Paper Towels Technique
We consider this the best germination method because of the ease and the high success rate.
What You Need
- Two plates
- Neutral water (Distilled water is highly recommended)
- Paper towels
- For transplantation: A mixture of 40% sand and 60% soil, pots, and a fluorescent tube.
Step 1: Preparation
Place the seed between some dampened pieces of paper towel. If the tap water in your country is not “tasty drinkable,” we highly recommend using distilled water.
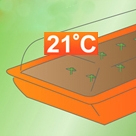
Step 2: Create the Environment
Afterward, place the marijuana seeds (in the towels) between 2 plates and put them somewhere warm. The best temperature is between 21 and 25 degrees Celsius.
Step 3: Daily Monitoring
Open the plates only once a day to have a look. Take note of a tiny white root tip starting to emerge. Some seeds sprout in a day, others need up to a week.
Step 4: Maintain Moisture
Ensure that the towel does not dry out. Put a little bit of water over it every couple of days.
Step 5: Initial Sprouting
Once the cannabis roots start sprouting out of the shell, you must put the seeds in potting soil. Beginners should go directly to a one-gallon pot.
Step 6: Planting the Seed
Make a little hole in the soil (half an inch or 1 cm deep). Plant the seed with its tiny roots facing down. Cover with soil and water gently.
Step 7: Lighting Setup
Place the pots under a fluorescent lamp and give them a little bit of water every day.
Step 8: First Signs of Life
Turn the lights on for a few hours daily. After 3 to 7 days, you will see the first signs of the plant. Keep the lamp at a safe distance to avoid burning.
Step 9: Growth and Transfer
After 3 to 4 weeks, the plant should be about 4 inches high and big enough to be transferred to a bigger pot or moved outdoors.
Method 2: Direct Germination
Direct germination is as easy as it sounds. You plant the seed directly into its final growing medium.
- Benefits: No moving the seedling, which means less stress.
- Outdoor: Ideal for autoflowering seeds in mid-summer.
- Indoor: Simple, but takes up space in your main grow room for the full cycle.
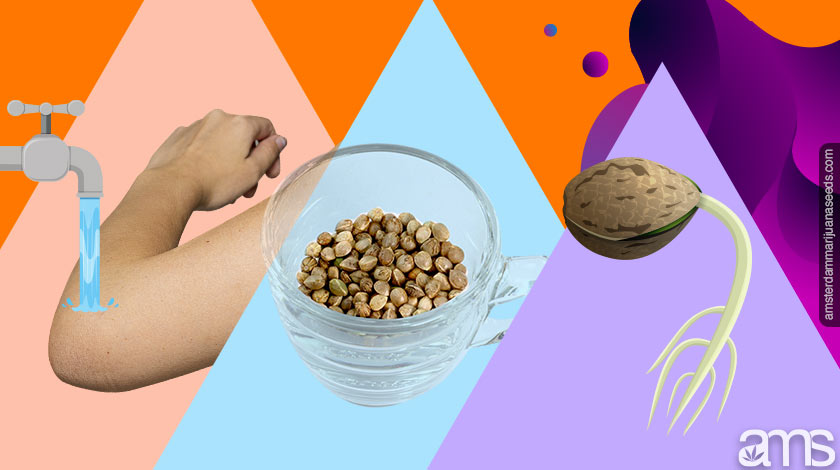
Method 3: Overnight Soaking
This involves a clear glass and warm water. Fill the glass halfway with warm water (neutral temperature, like a baby’s bath).
The seeds will float and eventually sink. Check regularly; once the white taproot appears, move it to your medium. Do not soak for more than 24-30 hours.
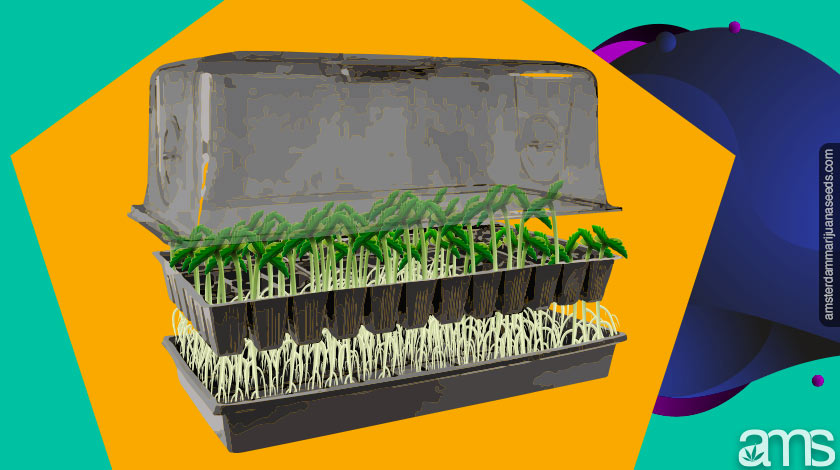
Method 4: Using a Germination Station
A germination station is a mini-greenhouse (starter kit) made to create optimal conditions.
Build Your Own Station
- A plastic or glass dome
- A tray with air holes
- Small containers for each seed
- A heating pad for under the tray
Method 5: Seedling Plugs
Commonly used by experienced growers. Plugs are soaked for 24 hours, placed in trays, and once the seedling shows, it is moved to the final soil.
How to Transplant Your Seedlings
Transplantation is the action you take once your seedling is ready for its final home.
Ensure the new medium is moist but not wet, has the correct pH, and enough space for roots. Use a spray bottle for nourishment early on to avoid drowning the young plant.
Alternative Germination Methods
Germinating in Cotton Wool (Coco Style)
- Place seeds on a piece of moist cotton wool.
- Cover with another moist piece.
- Place in a dish and cover tightly with micro-holed foil.
- Wait a few days for root development.
Germinating with Hydrogen Peroxide
- Mix 1 part 3% Hydrogen Peroxide (H2O2) with 5 parts distilled water.
- Soak seeds for 12 hours in this mixture (can include a rooting solution).
- Transfer to paper towels until roots emerge.
Scuffing the Seeds
Gently chip the hard coating of the seeds. Soak them in a glass for 48 hours until the root emerges, then transplant.
Final Conclusion & Recommendations
See which method fits best with your experience and setup.
- Seed Quality: Look for dark brown, firm seeds.
- Indoor Growers: Use Feminized seeds and the Paper Towel method.
- Outdoor Growers: Use Autoflowering seeds and the Direct Germination method.
Buy high-quality seeds from a reputable seed bank. We have 25+ years of experience delivering Grade-A seeds. Check out our
AMS Grow Diaries for inspiration.
Happy growings to you!
Get in contact with us today

 This page will introduce you to several ways to germinate seeds. We’ll talk about the growing medium, share some tips and tricks, and give you our recommendations on ensuring that your seeds will become healthy cannabis plants. We will introduce a total of 9 methods to you. The first five are the most common and relatively simple to do.


 The seeds will float and eventually sink. Check regularly; once the white taproot appears, move it to your medium. Do not soak for more than 24-30 hours.
 Ensure the new medium is moist but not wet, has the correct pH, and enough space for roots. Use a spray bottle for nourishment early on to avoid drowning the young plant.